How to Make Espresso at Home

June 7, 2026
Di Pacci — Home Barista Guide — How to Make Espresso at Home
How to Make Espresso at Home

✍️ By Mik Di Pacci · Founder & CEO, Di Pacci Coffee Company · Updated July 2026

Café-quality espresso at home isn't luck, and it isn't about spending the most money. It comes down to understanding four variables — dose, grind, time and temperature — and having the right grinder to control them. This guide walks you through every step, from equipment to dialling in your first great shot. Across five Di Pacci showrooms and 15+ years selling and servicing espresso equipment, this is exactly what we teach every new home barista who walks through the door.

⚡ The Short Version Grind fresh, weigh your dose, aim for a 1:2 ratio (e.g. 18g in → 36g out) pulled in 25–32 seconds at around 92–94°C. Too sour? Grind finer. Too bitter? Grind coarser. Change one variable at a time and taste as you go. The grinder matters more than the machine.
1 — What Espresso Actually Is

Espresso isn't simply strong coffee. It's a brewing method where hot water is forced through a bed of finely ground, compacted coffee under roughly 9 bar of pressure, extracting a small, concentrated shot in under 30 seconds. That pressure is what produces espresso's signature body and crema — the layer of golden foam on top — and it's why espresso tastes so different from filter or plunger coffee made with the same beans.

Understanding this matters because every piece of equipment and every step that follows exists to serve one goal: passing water evenly through that coffee bed so the shot extracts in balance. Get the extraction even, and the coffee tastes sweet and rounded. Get it uneven, and you taste sour and bitter notes in the same cup — even from excellent beans.

2 — The Equipment You Actually Need

You can spend anywhere from a few hundred to several thousand dollars on a home espresso setup. The honest truth we tell customers across our showrooms every day: the grinder matters more than the machine. A $2,000 machine paired with a cheap blade grinder will make disappointing espresso, while a modest machine paired with a quality burr grinder can make genuinely excellent coffee.

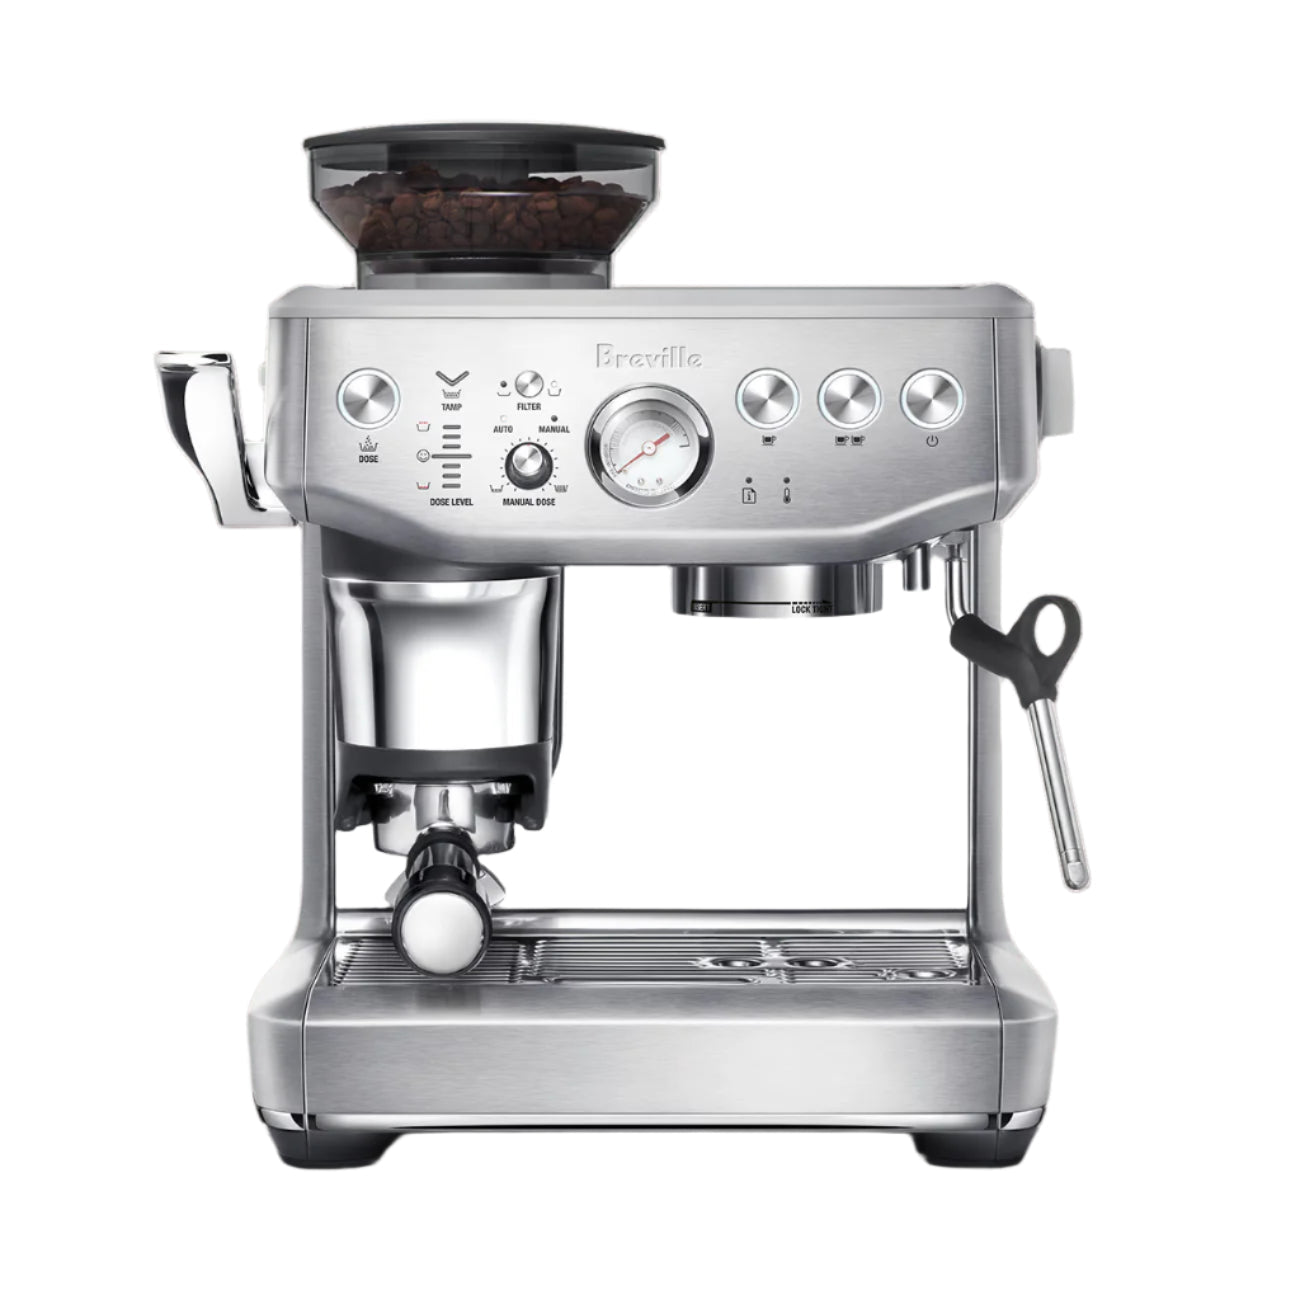
Home Espresso Machine Australia Di Pacci
Essential #1 Espresso Machine

Needs stable pressure (~9 bar) and consistent temperature. Entry-level to dual boiler — all can produce excellent espresso. If you drink milk drinks, prioritise steam power. If you drink black, prioritise temperature stability. The machine is the platform; the grinder is the tool.

Browse home espresso machines →
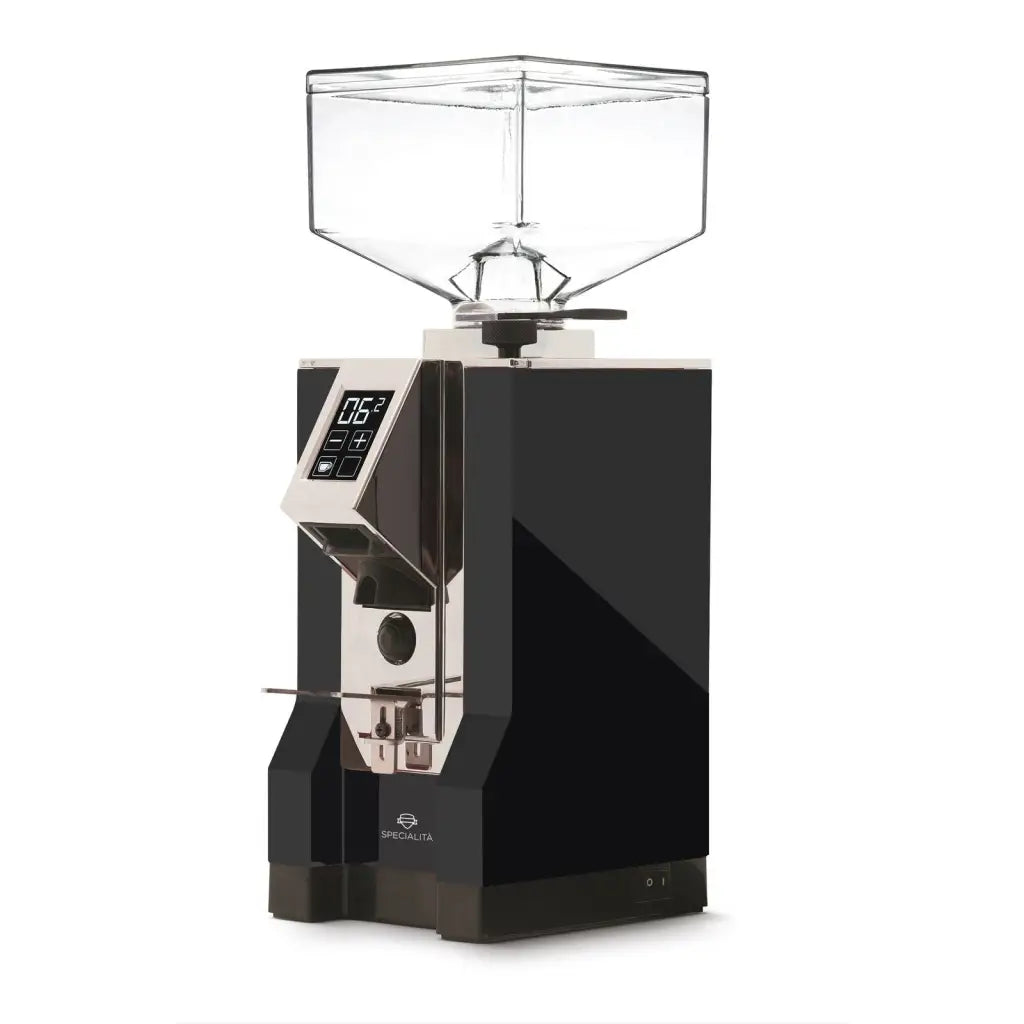
Home Espresso Burr Grinder Australia Di Pacci
Most Important Quality Burr Grinder

The single most important purchase. Burr grinders crush beans between two abrasive surfaces to produce uniform particles — the key to even extraction. Blade grinders chop randomly and cannot make good espresso. For espresso you need fine, repeatable, stepless adjustment.

Browse home coffee grinders →
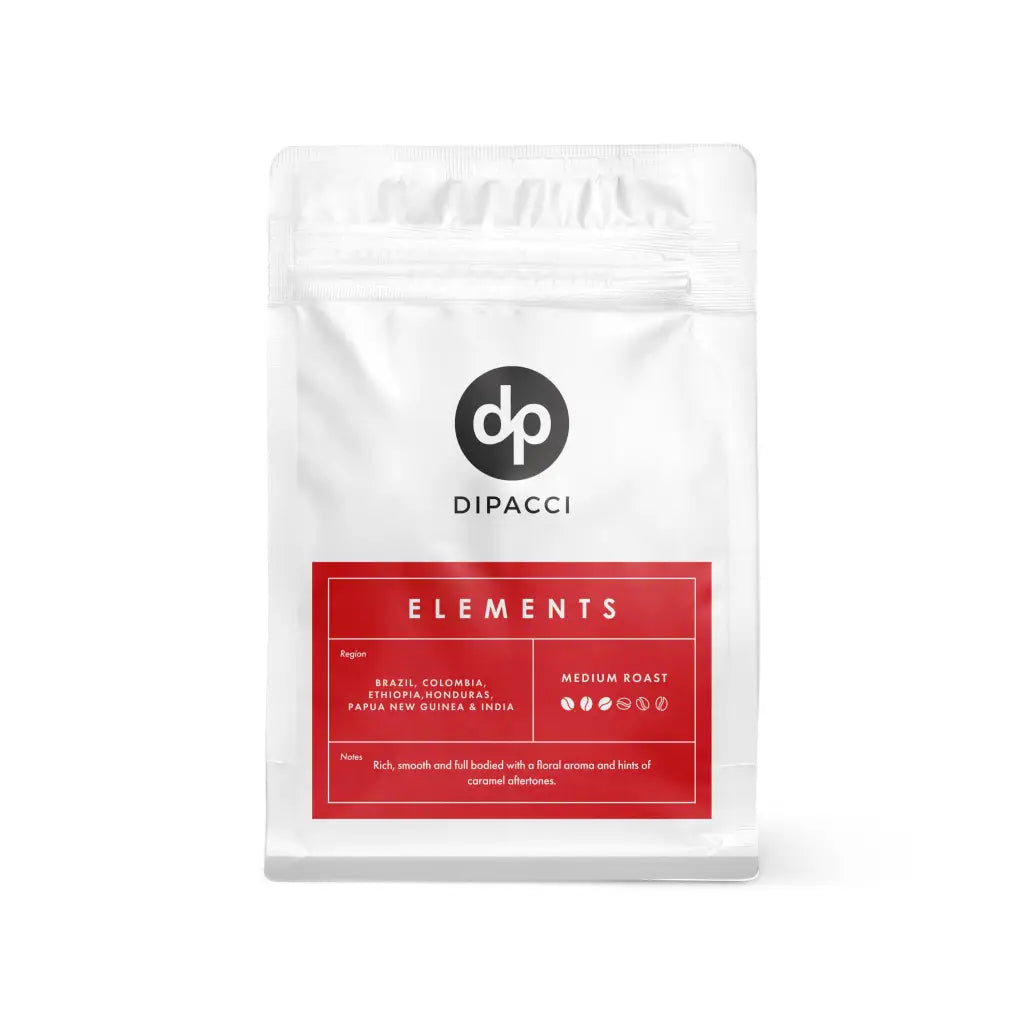
Fresh Espresso Coffee Beans Australia Di Pacci
Essential #2 Fresh Coffee Beans

Coffee is freshest within 3–4 weeks of roasting. Ground coffee loses best flavour within minutes. Buy whole beans, grind to order, and choose a roast suited to espresso — medium roasts are most forgiving for beginners.

Browse Di Pacci coffee beans →
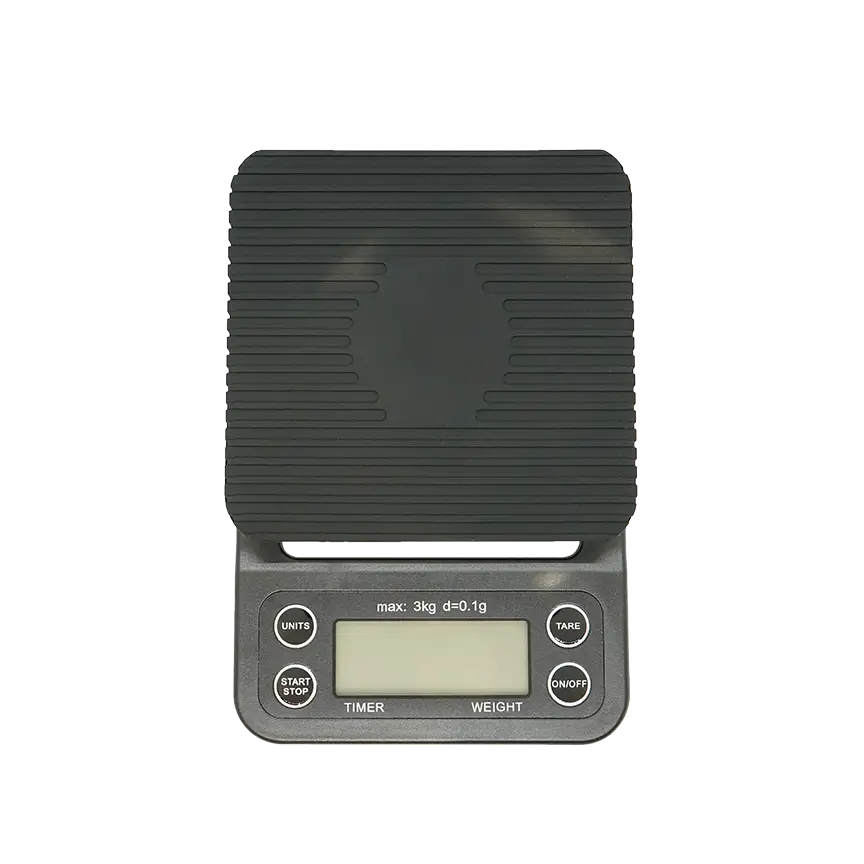
Coffee Scales and Tamper Accessories Di Pacci
Big Difference Scales, Tamper & Distribution Tools

Scales with 0.1g precision turn guesswork into repeatability. A quality tamper compresses the puck evenly. WDT and distribution tools break up clumps before tamping to prevent channelling — the most common cause of a bad shot.

Browse distribution tools →
⚙️ The Grinder Rule — Most Important Section in This Guide We see this every week in our showrooms: a customer with an expensive machine and a $30 blade grinder, frustrated by bitter or sour espresso. The blade grinder is always the culprit. Invest in the grinder first. A $300 burr grinder with a $600 machine will consistently outperform a $1,000 machine with a $50 blade grinder. Browse home burr grinders at Di Pacci →
3 — The Four Variables That Control Your Shot

Every espresso recipe comes down to four numbers you can measure and adjust. Master these and you can pull a consistent shot from any bean on any machine.

⚖️ Dose

The weight of dry coffee in the basket, in grams. A standard double basket takes around 18g. Set it once and leave it fixed while you dial in — only change dose after grind is dialled.

Target: 18g (double basket)
💧 Yield

The weight of liquid espresso in the cup — measured on scales, not by eye. Crema makes volume unreliable. 1:2 ratio = 18g in, 36g out. This is your main quality signal.

Target: 36g out (1:2 ratio)
⏱️ Time

How long the shot runs from pump start. A diagnostic, not a goal — a slow shot that tastes bitter is still a bad shot. Time tells you what's happening; taste tells you if it's right.

Target: 25–32 seconds
🌡️ Temperature

The brew water temperature. Higher extracts more — good for light roasts. Lower extracts less — good for dark roasts. Most machines default to 93°C, a good all-round starting point.

Target: 92–94°C
Starting Recipe — The 1:2 Ratio
18gDose InDry coffee in basket
36gYield OutLiquid espresso weight
25–32sShot TimeFrom pump start
93°CBrew TempAdjust ±2°C to taste

The classic 1:2 brew ratio — one gram of coffee in for every two grams of espresso out — is recommended by coffee professionals as the most forgiving starting point. From here you adjust to taste.

4 — How to Pull Your First Shot — Step by Step
1
Preheat Everything

Run a blank shot of water through the group head and into your cup before you start. A cold machine or cold portafilter pulls heat from your shot and drops extraction temperature — the most overlooked beginner mistake.

2
Weigh and Grind

Weigh your dose (18g), then grind straight into the portafilter. Grind fresh, every single time — coffee ground more than a few minutes ago is already going stale. Never use pre-ground for espresso.

3
Distribute and Tamp

Break up clumps with a distribution or WDT tool, level the bed evenly, then tamp firmly and squarely. An uneven or clumpy puck causes channelling — water finds the path of least resistance, over-extracting some grounds and under-extracting others in the same shot.

4
Lock In and Brew

Place your cup on scales, tare to zero, and start the pump and a timer together. Watch the shot — first comes a dark, syrupy stream, then it lightens and flows. The visual tells you the extraction is progressing.

5
Stop at Your Target and Taste

Stop when the scales read 36g. Note your time. Then — most importantly — taste the shot. Numbers are a guide; your palate is the judge. A shot that runs in 28 seconds and tastes sour is not a good shot, regardless of the time.

5 — Dialling In — Reading and Fixing Your Shot

Dialling in means adjusting your grind until the shot tastes right. The golden rule: change one variable at a time, and adjust grind before anything else. Keep dose and ratio fixed — let grind size control shot time and flavour.

If your shot is… It's likely… Do this
Sour · sharp · thin · runs too fast Under-extracted Grind finer — slows the shot, extracts more
Bitter · harsh · dry · runs too slow or chokes Over-extracted Grind coarser — speeds the shot, extracts less
Balanced · sweet · complex ✅ Dialled in Note your exact numbers and repeat them
Light roast tasting flat or hollow Temp too low Raise brew temp 1–2°C and re-taste
Dark roast tasting harsh or astringent Temp too high Lower brew temp 1–2°C and re-taste
💡 Expect 3–5 Shots to Dial In a New Bean Small grind changes compound quickly, so adjust in small increments and be patient. Trust your tastebuds over the stopwatch — the numbers serve the taste, not the other way around. A 27-second shot that tastes sour is still wrong. A 24-second shot that tastes balanced is still right.
6 — Steaming Milk for Flat Whites and Lattes

For milk-based drinks the goal is silky microfoam — fine, velvety texture with no visible bubbles. Here's the four-step process:

1 Purge the Steam Wand

Always purge before steaming — releases condensed water and brings the wand to full steam pressure. Wipe with a damp cloth after.

2 Stretch — Introduce Air

Submerge the tip just below the surface of cold milk. Keep it there for 3–5 seconds to introduce air — you'll hear a light hissing sound. This is "stretching."

3 Polish — Create the Whirlpool

Lower the jug so the wand creates a smooth, spinning whirlpool. This polishes the texture, breaking up bubbles and creating the silky microfoam that pours well.

4 Finish at 60–65°C

Hot enough to be comfortable to drink, not so hot it scalds and loses sweetness. Tap the jug on the bench, swirl to maintain texture, pour immediately.

7 — No Machine Yet? Espresso-Style Alternatives
🔥 Moka Pot

Produces strong, concentrated espresso-style coffee on the stovetop — not true espresso (doesn't reach 9 bar) but satisfying and great for strong black coffee. From ~$35 at Di Pacci. View moka pots →

🔧 AeroPress

Produces a smooth, concentrated coffee with more flexibility in recipe than a moka pot. Great for travel and experimentation. Still benefits greatly from a quality burr grinder. View AeroPress →

Entry Espresso Machine

When you're ready to step up to real espresso, Di Pacci stocks the full range from the Breville Bambino Plus ($619) to prosumer dual boilers. Our team matches you to the right machine. Browse machines →

Frequently Asked Questions
Bitterness almost always means over-extraction. The fix in order of likelihood: grind coarser (most common cause), shorten your shot time, or lower brew temperature slightly. Uneven tamping and channelling can also cause bitterness in part of the extraction — distribute the grounds evenly with a WDT or distribution tool before tamping. Check one variable at a time.
Sourness means under-extraction — water passed through the coffee too quickly without dissolving enough of the good stuff. Grind finer to slow the shot down and extract more. Also check your brew temperature — if your machine runs cool (below 92°C), raise it. Under-dosing (too little coffee in the basket) can also cause a thin, sour shot.
Yes — for espresso, a quality burr grinder with fine, stepless adjustment is non-negotiable. It's the one piece of equipment that most affects your cup. We'd recommend prioritising it over a more expensive machine every time. A $150–$300 burr grinder with a modest espresso machine will consistently outperform a $1,000 machine with a blade grinder or supermarket pre-ground coffee.
Start at 1:2 — 18g in, 36g out — over 25–32 seconds. It's the most forgiving baseline and where most cafés start. Once comfortable, experiment with shorter ratios (1:1.5) for a more intense, concentrated ristretto-style shot, or longer ratios (1:2.5–1:3) for a lighter, brighter lungo. Always let taste guide you rather than locking into numbers for their own sake.
Channelling — where water finds a path of least resistance through the puck — is the most common cause of inconsistent shots. Prevention: use a WDT (Weiss Distribution Technique) tool to break up clumps after grinding, level the grounds evenly before tamping, and tamp straight and level with consistent pressure. A bottomless portafilter lets you see channelling happening in real time — a useful diagnostic tool for beginners.
The SCA recommends 90–96°C. A good all-round starting point is 93°C. For lighter roasts that need more extraction, push to 94–96°C. For darker roasts that can over-extract at high heat, try 90–92°C. Machines with PID temperature control let you set this precisely — one of the most valuable features on any espresso machine above entry level.
For beginners, a medium roast blend is the most forgiving — it extracts evenly across a wider grind range and produces a balanced, caramel-chocolate flavour that suits milk drinks. Di Pacci's Elements blend (medium roast) is designed for exactly this. As you develop your palate, explore lighter roasts for black espresso and single origins for specific flavour profiles. Always buy beans roasted within 3–4 weeks.
A Moka pot (from ~$35) produces strong, espresso-style coffee on the stovetop without electricity — the most popular alternative. An AeroPress produces a smooth, concentrated coffee with more recipe flexibility. Neither reaches the 9 bar required for true espresso, but both produce satisfying, strong coffee as a starting point. You'll still need a burr grinder — grind consistency matters just as much with manual methods.
About the Author Mik Di Pacci — Founder & CEO, Di Pacci Coffee Company

Mik Di Pacci is the Founder & CEO of Di Pacci Coffee Company, Australia's largest coffee machine and grinder specialist operating since 2010. Di Pacci operates five showrooms — Sydney (Roselands), Melbourne (Thomastown), Queensland (Southport), Perth (West Perth) and Port Macquarie — with an in-house roastery, barista training school, and service workshop. Every recommendation in this guide comes from real-world experience pulling shots and teaching home baristas across Australia daily.

Ready to Build Your Home Espresso Setup? Five Australian showrooms · Expert matching · In-house service · Free shipping over $200 · (02) 9758 0760

Leave a comment