✍️ By Mik Di Pacci · Founder & CEO, Di Pacci Coffee Company · Updated July 2026
Your first espresso machine can feel intimidating — buttons, boilers, portafilters, tampers, steam wands. But every great home barista started exactly where you are now. This guide walks you through everything you need to know to use your espresso machine with confidence: understanding the parts, preparing your first shot, steaming milk, making your favourite drinks, dialling in, and keeping your machine clean. By the end, you'll know what every knob and valve does and why it matters.
⚡ The Short VersionPreheat your machine, weigh 18g of freshly ground coffee into the portafilter, tamp level, lock in and start the pump. Aim for 36g of espresso out in 25–32 seconds. Too fast and sour? Grind finer. Too slow and bitter? Grind coarser. Steam cold milk to 60–65°C for milk drinks. Clean the steam wand and rinse the group head every session.
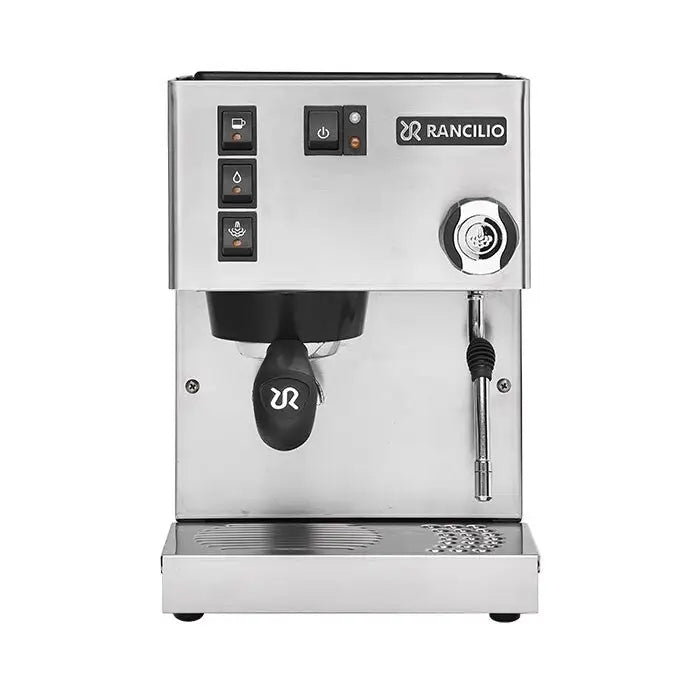
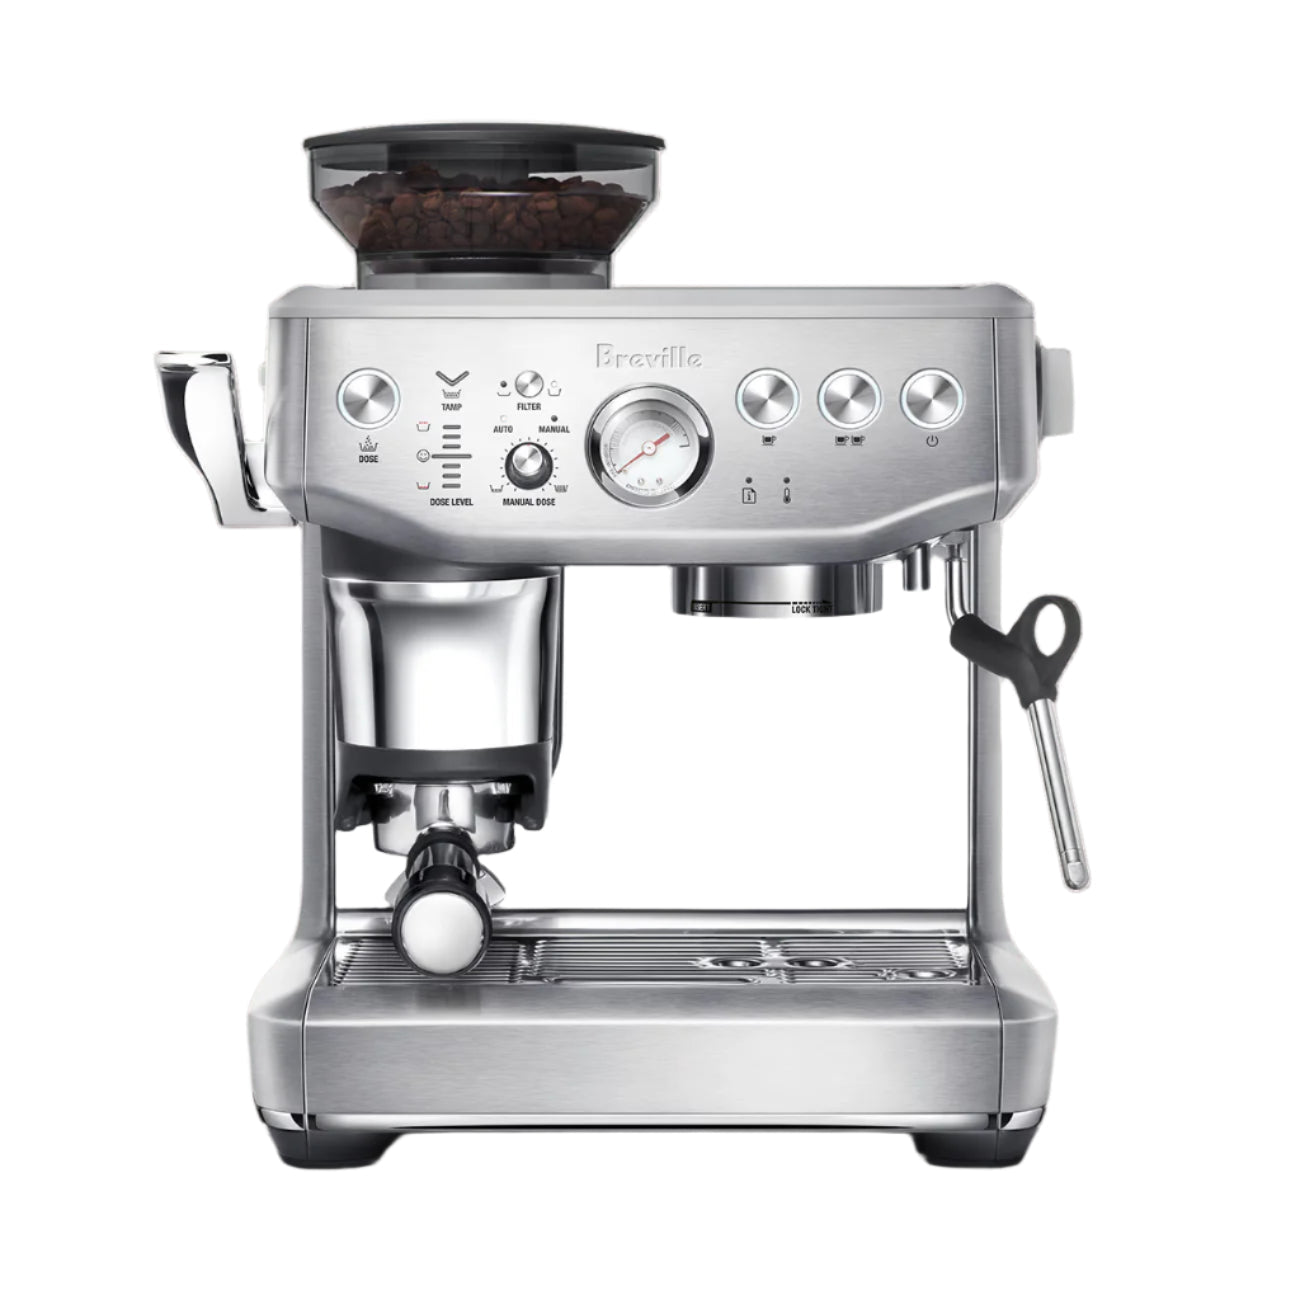
Two of Australia's most popular home espresso machines — Breville Barista Express (left) and Rancilio Silvia V6 (right). Both available at Di Pacci.1 — Know Your Machine's Parts
Before you brew your first shot, know what you're working with. Every espresso machine shares the same core components regardless of brand or price. Understanding what each part does removes the mystery and makes troubleshooting simple.
🔘Group Head
The chrome fitting on the front of the machine where the portafilter locks in. Hot water is pushed through here under pressure. Preheat it before brewing — a cold group head drops your shot temperature.
🫙Portafilter
The handle with a metal basket that holds your ground coffee. Locks into the group head. The basket comes in different sizes — a double basket typically holds 18g. Always preheat by locking it in before your shot.
🗑️Filter Basket
The metal cup inside the portafilter. Single baskets hold 7–9g; double baskets 14–20g. Most home baristas use the double basket for every shot. The holes at the bottom control flow rate.
💧Water Tank / Reservoir
Where your machine stores water. Keep it full of fresh, filtered water. Remove and rinse weekly. Some machines are plumb-in capable — direct water line connection for high-volume use.
🔥Boiler
Heats water to brew temperature (~93°C) and steam temperature (~125°C). Single boiler machines do one at a time; heat exchanger and dual boiler machines can do both simultaneously.
💨Steam Wand
The metal tube used to steam and texture milk. Purge before each use (release a burst of steam first), steam your milk, then wipe and purge again immediately after. Neglecting this is the most common beginner mistake.
⚡Pump
Forces water through the coffee puck at ~9 bar. Vibration pumps are standard in home machines and make a humming sound. Rotary pumps are quieter, more durable, and found on premium machines.
🌡️PID Controller
A digital temperature controller found on most mid-range and premium machines. Holds brew temperature within ±0.5°C of your setpoint. Machines without PID can have larger temperature swings between shots.
⚖️Pressure Gauge
Shows pump pressure during extraction — typically reads 8–10 bar when pulling correctly. Some machines show boiler pressure, not brew pressure. A useful diagnostic tool once you're dialling in.
2 — Choose the Right Machine for You
The right espresso machine depends on how you drink coffee, how many drinks you make, and how much you want to learn. Here are Di Pacci's top beginner picks across three categories:
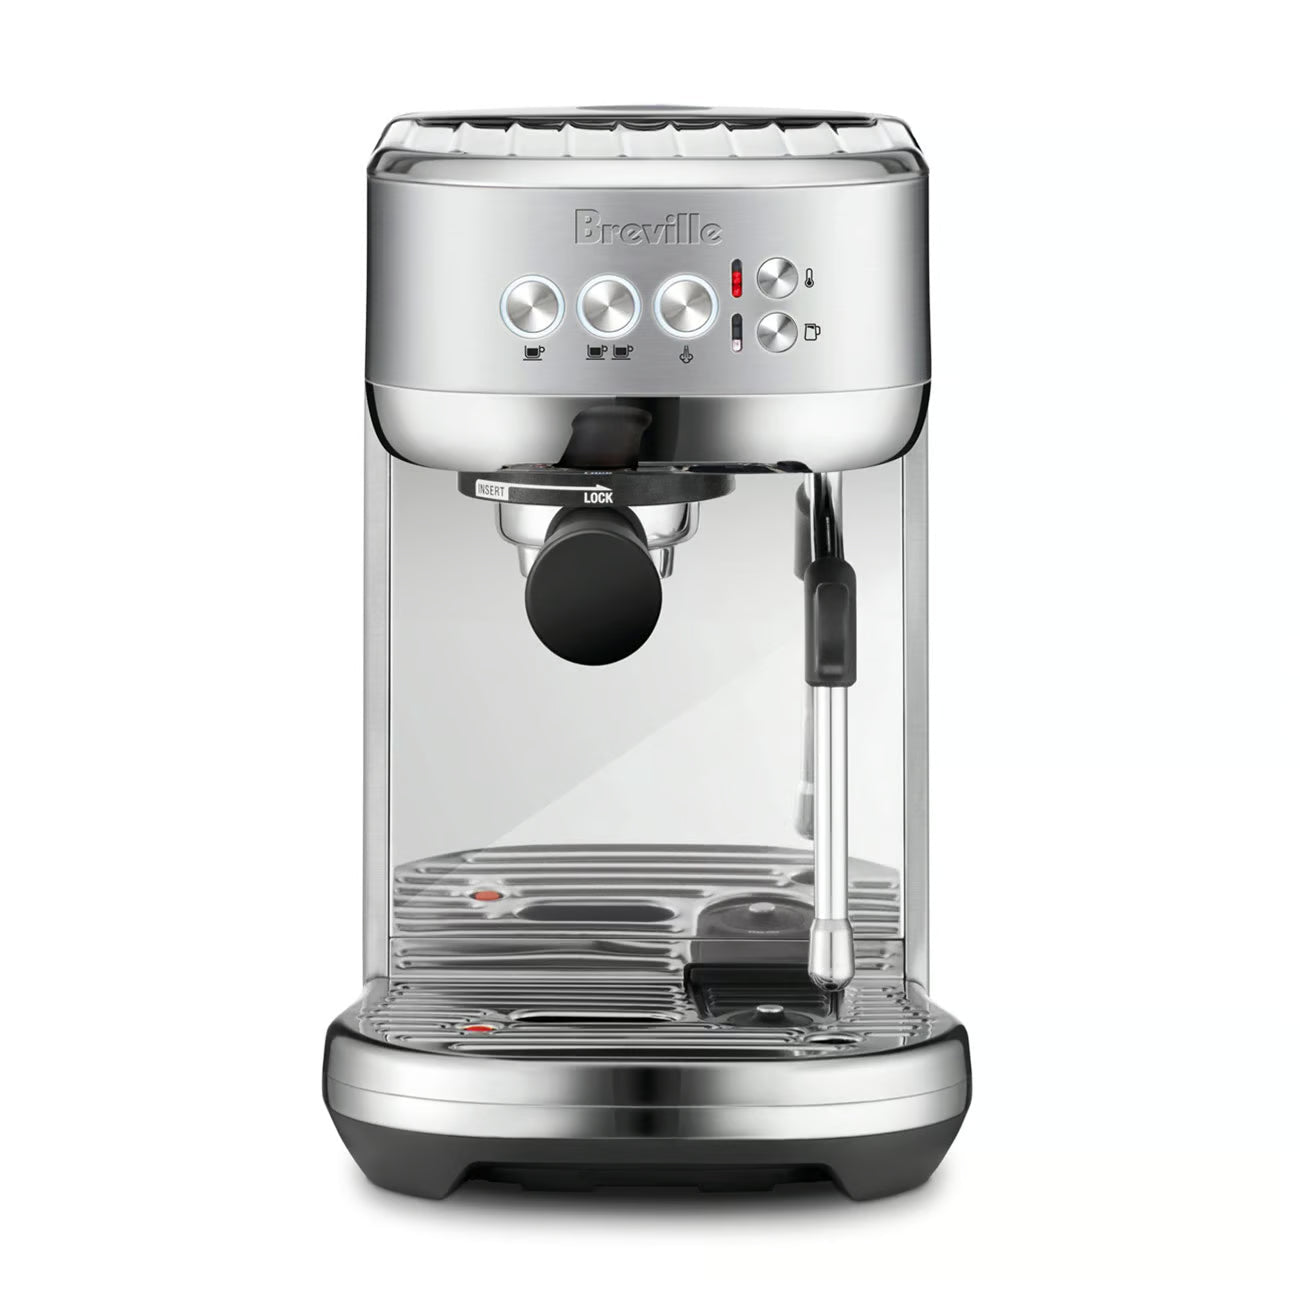
Best First MachineBreville Bambino Plus$619
3-second heat-up, auto milk, PID. Fits any kitchen. The machine Di Pacci recommends most often to first-time buyers. Forgiving, fast, and produces great flat whites out of the box.
Built-in conical burr grinder + espresso machine in one footprint. No separate grinder needed. Great for beginners wanting to start fresh grinding straight away without extra bench space.
Italian-made with commercial-grade 58mm brass group head, 20+ year lifespan. Di Pacci still services Silvias from decades ago. Rewards good technique — perfect for home baristas serious about learning properly.
🔧 The Grinder Rule — Read This FirstThe grinder matters more than the machine. A $300 burr grinder with a $600 machine will consistently outperform a $900 machine with a blade grinder. If you're buying a machine without a built-in grinder, budget at least $150–$300 for a quality burr grinder alongside it. Browse home coffee grinders at Di Pacci →
3 — First-Time Setup
Before pulling your first shot, complete these one-time setup steps. Taking 20 minutes now saves frustration later.
1
Fill the Water Tank with Filtered Water
Use filtered water if possible — it improves coffee flavour and significantly reduces scale buildup. Remove the tank, fill to the max line, and reinstall. Never run the machine with an empty tank.
2
Power On and Allow Full Heat-Up
Turn the machine on and wait for it to reach full operating temperature. Entry-level machines (Bambino Plus) take 3–8 seconds. Traditional E61 machines need 15–20 minutes for the group head to fully saturate with heat. Don't rush this — cold machines make bad espresso.
3
Run a Blank Shot to Preheat the Group Head
Place your cup under the group head (without the portafilter), press the brew button, and run about 60ml of hot water through. This preheats the group head and warms your cup simultaneously. Then lock the empty portafilter in for 30 seconds to preheat it too.
4
Set Your Brew Temperature (if PID equipped)
Most machines default to 93°C — a good all-round starting point. If your machine has PID control, leave it at the default until you're consistently pulling good shots, then experiment: lighter roasts extract better at 94–96°C, darker roasts at 90–93°C.
5
Grind Your Coffee and Set a Starting Point
Grind fresh beans at an espresso-fine setting — roughly the texture of fine table salt. If you have a stepless grinder, start in the middle of your fine range. Put your scales under the portafilter and tare. You'll dial in from here on your first few shots.
4 — Pull Your First Shot — Step by StepThe portafilter holds your ground coffee — correct dosing, distribution and tamping are the three steps that most affect shot quality.
18gDose InDry coffee in basket
36gYield OutLiquid espresso weight
25–32sShot TimeFrom pump start
93°CBrew TempAdjust ±2°C to taste
Watch: How to use an espresso machine — Di Pacci Coffee Company guide
1
Weigh and Grind — 18g
Place the portafilter on your scales and tare to zero. Grind 18g of fresh beans directly into the basket. Grind fresh every single time — pre-ground coffee stales within minutes and produces flat, dull espresso regardless of how good the beans are.
2
Distribute the Grounds Evenly
Tap the portafilter gently on the bench to settle the grounds. Use a WDT tool or distribution tool to break up any clumps and level the surface. Uneven distribution causes channelling — water finds weak spots and rushes through, producing inconsistent, muddy shots. View WDT tools →
3
Tamp Level and Firm
Place the tamper on the grounds and press straight down with even, firm pressure — around 15–20kg of force. The surface should be level and smooth. An angled tamp creates uneven density across the puck, causing channelling. Consistency matters more than exact pressure — tamp the same way every shot.
4
Lock In and Start — Scales Running
Lock the portafilter into the group head with a firm clockwise turn. Place your cup on scales under the spout, tare to zero, and start the pump and a timer together. Watch the shot begin — it starts as a dark, syrupy stream then lightens as extraction progresses.
5
Stop at 36g and Taste
Stop the pump when the scales read 36g. Note your time — target is 25–32 seconds. Then do the most important thing: taste the shot. Numbers are a guide, your palate is the judge. A balanced shot tastes sweet and rounded. Sour means under-extracted; bitter means over-extracted.
5 — Dial In Your Grind
Dialling in means adjusting your grind size until the shot tastes right. It usually takes 3–5 shots with a new bag of beans. The golden rule: change one thing at a time. Keep dose and yield fixed — only adjust grind size.
If the shot tastes…
It means…
Do this
Sour · sharp · thin · fast (<25s)
Under-extracted
Grind finer — slows flow, extracts more
✅ Sweet · balanced · round
Dialled in
Note your settings — repeat every session
Bitter · harsh · dry · slow (>35s)
Over-extracted
Grind coarser — speeds flow, extracts less
Both bitter AND sour
Channelling
Distribute grounds more evenly with WDT tool
Flat · dull · lifeless
Stale beans
Buy fresher beans roasted within 3–4 weeks
⚠️ Change One Variable at a Time
If you adjust grind, dose, temperature and yield all at once, you won't know what fixed it — or broke it. Move one variable, pull a shot, taste. Then adjust again. This is how you actually learn your setup and build repeatable results.
6 — Steam Milk for Flat Whites and LattesSilky microfoam — fine, velvety texture with no visible bubbles — is the goal for flat whites and lattes. It comes from two phases: stretching and polishing.
The goal is silky microfoam — fine, velvety texture with no large bubbles. The key is two distinct phases: a short stretch phase to introduce air, then a longer polish phase to create smooth texture. Cold milk works best — don't pre-warm it.
1Purge the Wand
Open the steam valve for 1–2 seconds to clear condensed water and bring the wand to full pressure before it touches milk. Wipe with a damp cloth.
2Stretch — Introduce Air
Submerge the wand tip just below the surface and tilt the jug. Keep it there for 3–5 seconds — you'll hear a light hissing sound. This is where air volume is added. Don't overdo it.
3Polish — Create the Whirlpool
Submerge the tip deeper and angle the jug to create a smooth spinning whirlpool. This breaks up bubbles and creates the silky, glossy texture that pours well.
4Finish at 60–65°C
Stop steaming when the jug is too hot to hold comfortably (or at 65°C on a thermometer). Tap on the bench, swirl, pour immediately. Wipe and purge the wand right away.
💡 Cold Milk + Cold Jug = Better FoamAlways start with cold milk from the fridge and a cold metal jug. Cold milk gives you more time to create texture before hitting serving temperature. Warm milk heats too fast and you run out of time to stretch properly. Keep your milk jug in the freezer between uses for best results.
7 — Common Espresso Drinks at a Glance
Espresso / Short Black18g in · 36g out · 25–32s
Pure espresso, no milk. Served in a 60ml demitasse. The benchmark — if your espresso tastes good black, everything built on top of it will be excellent.
Ristretto18g in · ~20–25g out · 20–25s
A shorter, more concentrated extraction. Sweeter and syrupier than standard espresso — less bitter because extraction stops before bitter compounds dissolve.
Long Black / AmericanoEspresso + 90–120ml hot water
Espresso poured over hot water (not the reverse). Retains the crema. Lower strength than espresso but with the same flavour character. Add water to taste.
Australia's signature — a small, strong milk drink with silky microfoam and minimal froth. Stronger espresso-to-milk ratio than a latte. 5–6oz total volume.
LatteDouble espresso + 180–220ml steamed milk
More milk than a flat white — milder, creamier, larger volume. More forgiving of slight extraction issues because the milk volume softens the flavour.
CappuccinoDouble espresso + equal parts milk + foam
One third espresso, one third steamed milk, one third textured foam. Stronger milk flavour than a latte, with a distinct foam layer. Traditional 150–180ml total volume.
MacchiatoEspresso + splash of steamed milk
Espresso "marked" with a small amount of milk foam or steamed milk. Retains strong espresso character — for those who want the intensity of black espresso with a touch of milk.
CortadoDouble espresso + equal volume warm milk
Equal parts espresso and warm (not frothed) milk — cuts the acidity without overwhelming the coffee flavour. Smooth and balanced, typically served in a small glass.
Cold Brew / Iced LatteEspresso over ice + cold milk
Pull a double shot over a cup of ice — rapid chilling locks in sweetness and brightness. Add cold milk for iced latte. Use a slightly finer grind to compensate for the dilution of ice melt.
8 — Daily Cleaning Routine
Cleaning your espresso machine after every session is the single most impactful thing you can do for consistent coffee quality. Rancid coffee oils left in the group head and basket make every subsequent shot taste worse — no grind adjustment will fix it.
Most beginners can pull a consistently good shot within 1–2 weeks of daily practice. The basics — dose, tamp, start, stop — can be learned in an afternoon. Dialling in your grind for a specific bean usually takes 3–5 shots. Steaming milk to proper microfoam consistency typically takes a few sessions. The fundamentals aren't difficult — the challenge is building muscle memory and learning to read what you taste. Di Pacci's group barista classes compress the learning curve to a single 3.5-hour session on commercial equipment.
Sour espresso means under-extraction — the water passed through the coffee too quickly and didn't dissolve enough of the good flavours. Fix in order: grind finer (most common cause), check your dose isn't too light, and make sure your brew temperature is above 90°C. Also check your beans aren't too fresh — very recently roasted beans (under 3 days) release excess CO₂ that can cause uneven extraction. Aim for beans 5–21 days post-roast for espresso.
Bitter espresso means over-extraction — the water extracted too many compounds from the coffee. Fix in order: grind coarser (most common cause), shorten your shot, or lower brew temperature 1–2°C. Also check your machine is clean — rancid coffee oils in the group head or basket add a persistent bitterness that no grind change will fix. Read our full guide: Why Does My Espresso Taste Bitter? →
Yes — for espresso, a quality burr grinder is non-negotiable. Blade grinders produce inconsistent particle sizes that make good espresso impossible to dial in. If you don't want a separate appliance, the Breville Barista Express has a built-in grinder. Otherwise, budget $150–$300 for a standalone burr grinder alongside your machine. Browse home coffee grinders at Di Pacci →
Filtered water is the best choice — it improves coffee taste and dramatically reduces limescale buildup inside your machine. Avoid distilled or zero-mineral water — too little mineral content makes coffee taste flat. Avoid very hard tap water without filtering — it builds scale quickly. A basic carbon filter or Brita-style jug filter works well for most Australian homes. Filtered water extends the time between descaling from weeks to months.
Most machines have a ready indicator — either a light that switches on, a steady pressure gauge, or a beep. For traditional E61 machines, the ready light is a starting point but the group head needs longer to fully saturate with heat — 15–20 minutes is ideal. A useful test: run a blank water shot and feel the water temperature with your fingers. If it feels genuinely hot (not just warm), the machine is ready. Preheating your cup at the same time improves shot quality further.
Too much froth comes from too long in the stretch phase — introducing too much air. Limit your stretch to 3–5 seconds maximum (you'll hear just a few light hisses), then submerge the wand tip and switch to the polish phase. Also ensure you're starting with cold milk — warm milk heats too fast, leaving you less time to control texture. For flat whites and lattes, you want microfoam, not stiff foam. The texture should look like glossy wet paint when you pour.
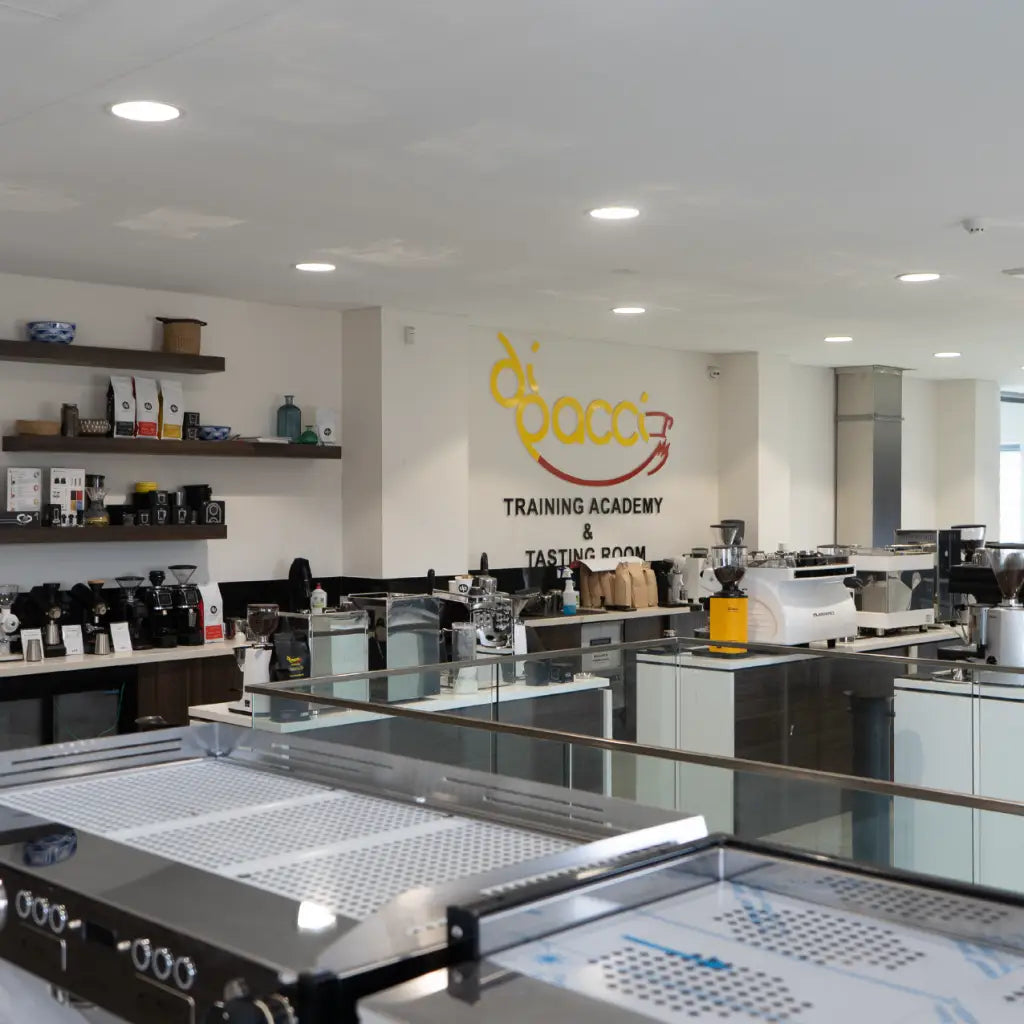
Yes — Di Pacci has five showrooms across Australia where you can see machines demonstrated and pull shots on equipment before buying. Sydney (Roselands), Melbourne (Thomastown), Queensland (Southport), Perth (West Perth), and Port Macquarie. Call (02) 9758 0760 to arrange a visit. We also run barista training classes at Roselands where you'll pull shots on commercial equipment with a trainer beside you.
About the AuthorMik Di Pacci — Founder & CEO, Di Pacci Coffee Company
Mik Di Pacci is the Founder & CEO of Di Pacci Coffee Company, Australia's largest coffee machine specialist since 2010. Di Pacci operates five showrooms — Sydney, Melbourne, Queensland, Perth and Port Macquarie — with an in-house roastery, barista training school, and service workshop. Every recommendation in this guide reflects 15+ years of daily experience helping Australian home baristas get the most from their machines.
Ready to Start Your Home Espresso Journey?Expert matching · Five Australian showrooms · Free shipping over $200 · Barista training available · (02) 9758 0760